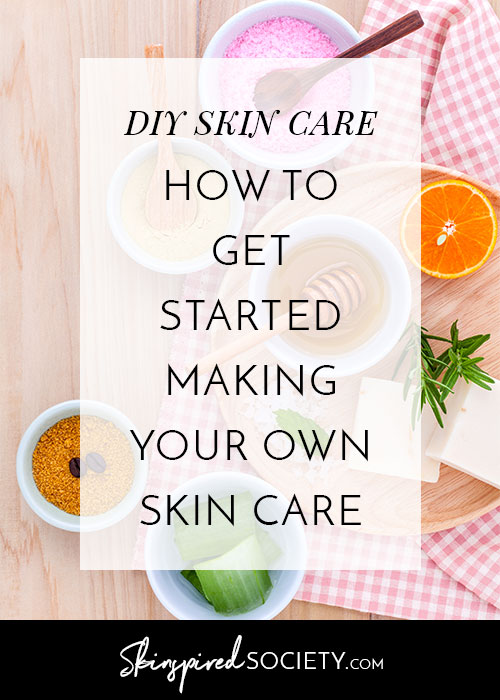
Getting started making your own skin care does not need to be expensive or complicated. In fact, keeping it as simple as possible is the best option for your skin. Limiting the number of ingredients you use to just a few tried and true options, and using equipment that is already in your kitchen, means you can get started making your own DIY skin care today.
Building your DIY skin care kit at home will require a few things. In today’s post, I’m sharing which staple ingredients, can’t-do-without ingredients, oils, essential oils, equipment, and packaging will make your voyage into the art of DIY skin care fun and easy.
Staple Ingredients
When you start looking at the ingredients lists of the products you use every day, you will probably start to notice a handful of ingredients appear over and over again. These ingredients are extremely versatile and definitely deserve a place in your DIY Skin Care kit:
- Aloe vera juice (note: this is not the gel that you can purchase at the pharmacy for sun burns)
- Witch hazel
- Glycerine
- Beeswax
- Butters, such as cocoa, mango and shea
- Clays, such as kaolin and bentonite
- Emulsifying wax
A couple of additional ingredients that I have come to love because they offer a little something extra in my products include: activated charcoal, hydrosols, and hydrolyzed oat protein.
Your one can’t-do-without ingredient
One of the most cringe-worthy things I see time and time again is the lack of preservatives in formulations that contain water-based ingredients. A quick search on Pinterest and you can easily find thousands of recipes that claim to be safe and natural, but forget to recommend adding a preservative.
Somewhere along the way preservatives have developed a bad reputation for themselves. Yes, some do contain parabens and formaldehyde, both known carcinogens, however, demand for safer, more natural alternatives have challenged ingredient manufacturers to develop eco-friendly and safer options that are easy to use in your everyday recipes.
The bottomline is: If your recipe includes any water-based ingredients like aloe vera, glycerine, witch hazel, etc. then it MUST also include a preservative. **this is non-negotiable**
Oils
It may seem completely counterintuitive to put oil on a face that is breaking out, but oils are actually a wonderful way to safely balance your skin. Often, if your skin is too oily, it is over producing oil as a means to overcompensate for dryness.
Oils in skin care can be classified as a carrier oil, or a specialty oil. Carrier oils tend to be cheaper, and make for excellent bases in recipes. Specialty oils are more expensive, and can be added to recipes in smaller amounts to bring specific benefits to your skin.
Some examples of carrier oils that I like to use include:
- Fractionated coconut oil
- Rice bran oil
- Sunflower oil
- Jojoba oil
Some specialty oils that have earned a spot in my DIY skin care kit include:
- Borage oil
- Argan oil
- Evening primrose oil
- Rosehip oil
There are also a few other things that you should consider when using oils in your recipes: comedogenicity, and oil rancidity.
Comedogenicity refers to the likelihood of an oil to clog your pores and cause a comedone, or breakout to form. Oils tend to have a rating from 0-5, so if you are struggling with acne, it’s best to use only oils that are on the low end of this rating (0-2).
Oil rancidity occurs when oils have passed their prime. Heat, light, and exposure to oxygen are typical enemies to oil, so storing your oils in a cool, dark place will help prolong their shelf life. It’s a good idea to be aware of the estimated shelf life of an oil and how much you need for your recipes to avoid ordering too much and it going bad. If you open an oil and it smells off – sort of like smelling mothballs – then this is a good indication that the oil is rancid and should be disposed of.
Essential Oils
Once you start using essential oils, it’s hard to ever imagine a life without them. (Can you tell I’m an EO fangirl?) There are so many different essential oils out there to choose from, so you may be wondering where the heck do you start? I personally select the oils I’m going to use in a recipe based on how they can help the specific skin ailment I’m trying to address with my recipe.
For acne, some oils that have been shown to benefit broken out skin include:
- Bergamot
- Cedarwood
- Chamomile
- Geranium
- Grapefruit
- Juniper
- Lavender
- Lemongrass
- Patchouli
- Rosemary
- Sage
- Sandalwood
- Tea tree
- Ylang ylang
Essential oils are one ingredient where just because it’s natural, doesn’t mean it’s safe. Because they are extremely potent, active ingredients, you will need to take care to ensure that you are properly diluting your oils in your recipes. Also, it’s a good idea that before you use any single oil that you research whether or not you have a contraindication to it.
Starter Equipment
It’s possible you already have everything you need to get started making your own skin care already in your kitchen. The tools I find myself reaching for the most include:
- Digital kitchen scale – this one is a must-have as recipes are often given in weights to account for the different densities and sizes of ingredients.
- Heatproof measuring cups
- Pinch bowls
- Wooden spoons
- Silicone spatulas
- Immersion blender or a high-powered milk frother.
Having a few good pieces of equipment can be the difference between a frustrating DIY skin care experience and a joyful one. I personally love buying gadgets and equipment because if it makes my life easier then I’m more likely to make the recipe again and again!
Packaging
There are a number of different options when it comes to packaging up your products. My favourite is to up-cycle packaging from old products that have run out! This is not only great for the environment, but is also free! I also love using mason jars. There’s something so homemade-chic about a cute little mason jar with a handmade label on it. And while there are many options for ordering packaging through Amazon, I personally find ordering packaging from the same places I source my ingredients from to be a more economical option.
Where to buy your supplies
The amazing thing is that we now live in an age where anything you want to know, or anything you want to buy can be found online. There are so many amazing retailers online where you can easily order ingredients from and have them delivered right to your door.
Amazon is my preferred shop for ordering my equipment, but for purchasing ingredients, these are my go-to online suppliers:
Now that we’ve covered all the basic things you’ll need to get started making your DIY skin care, you’ll need some recipes. I invite you to check out my Skinspired DIY Beauty Basics Course, where I walk you through 8 video recipes, and show you how to make a whole range of products from cleanser, to lotions, to deodorant, to bug spray. Plus, you’ll get more detailed information on every single point listed above! This is the perfect opportunity to get started making your own DIY skin care creations today!


Leave A Comment